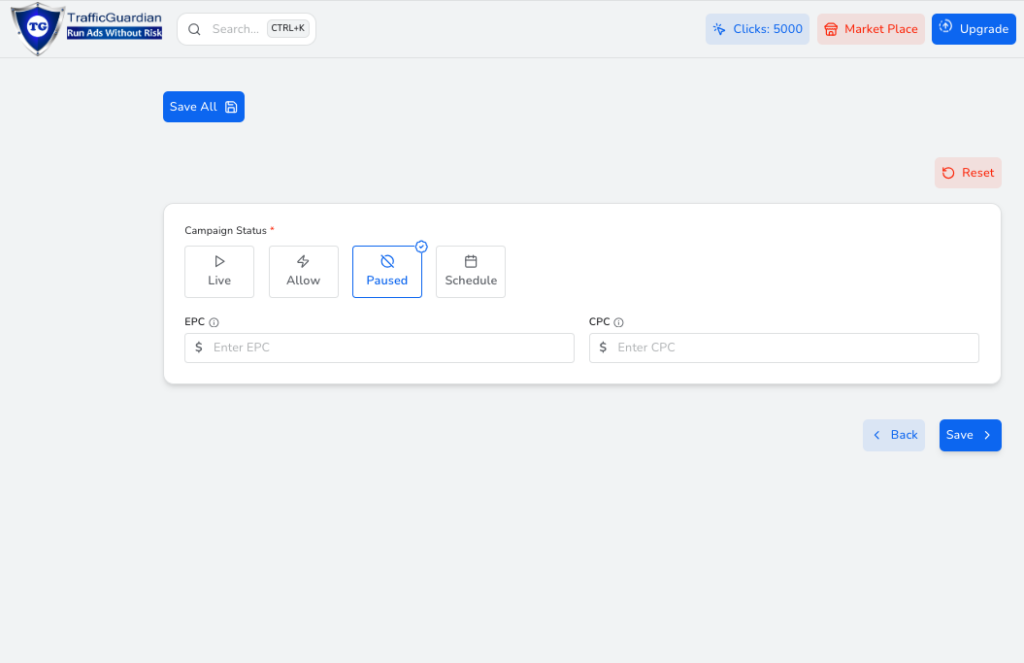
In this guide, you will learn how to set up cloaking and create a campaign step by step in an easy way. After completing all the 8 steps given below, you will reach the cloaking integration page. Learn here the simple and easy method to set up a campaign on TrafficGuardian.
Follow these steps for creating a new campaign on Trafficguardian.
Go to the plus icon on the left side of the Dashboard and click on Create Campaign. This will open the create campaign window.
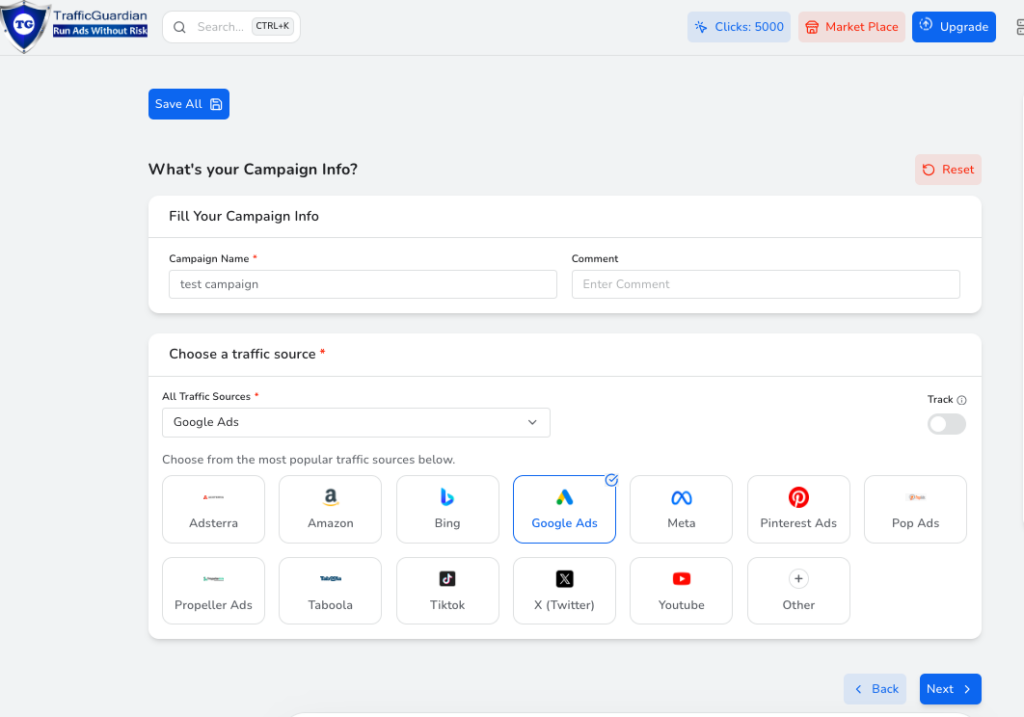
Step 1: Campaign Information
Fill in all the required campaign information and select the correct traffic source for which you are creating the campaign.
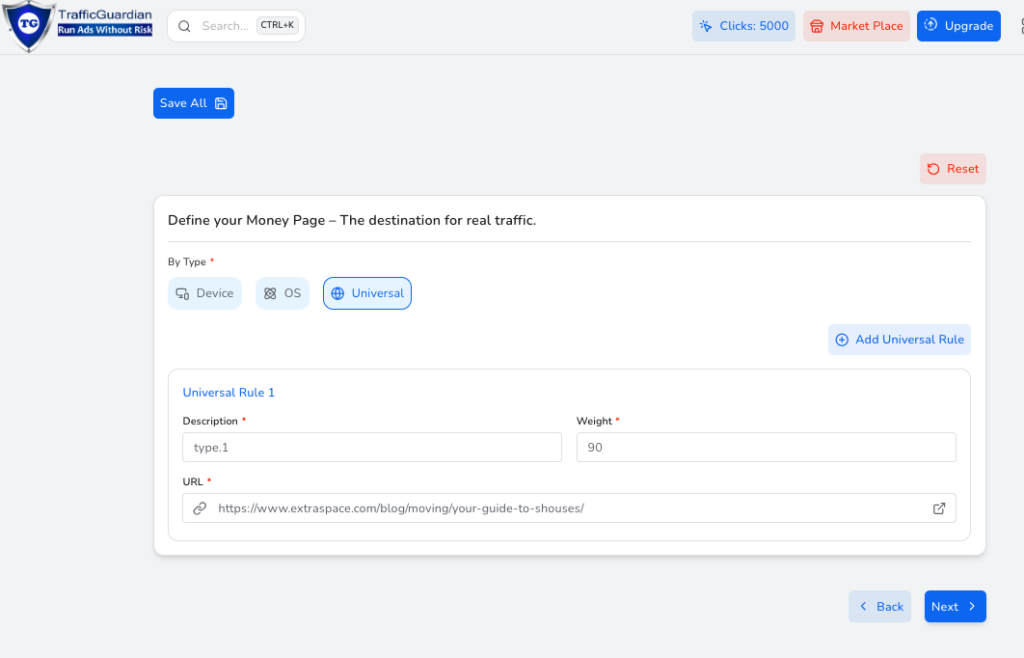
Step 2: Money Page Setup
Set the money page where you want to send your legit visitors.
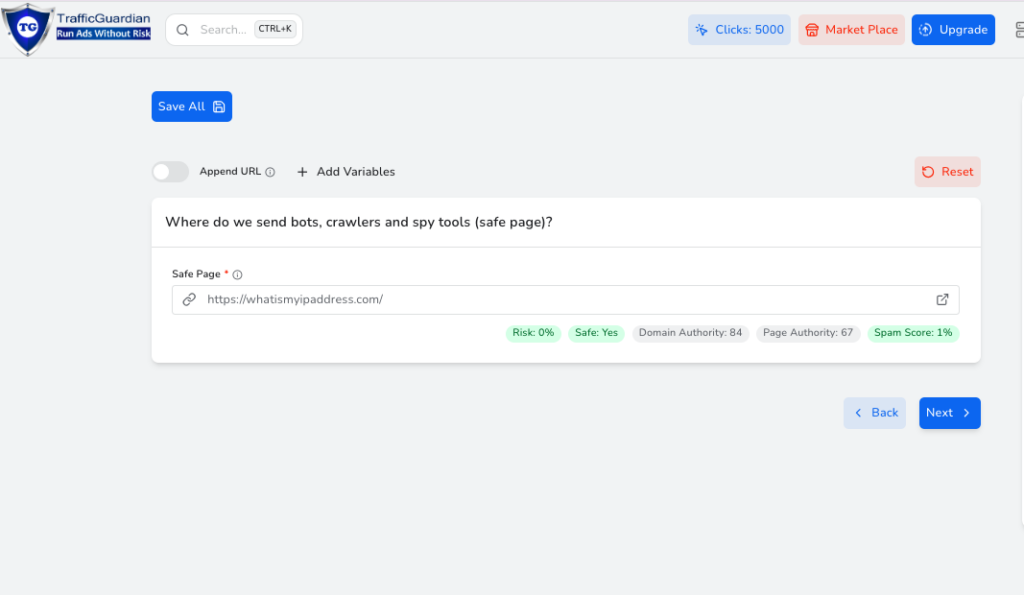
Step 3: Safe Page Setup
Where do we send bots, crawlers and spy tools (safe page)?
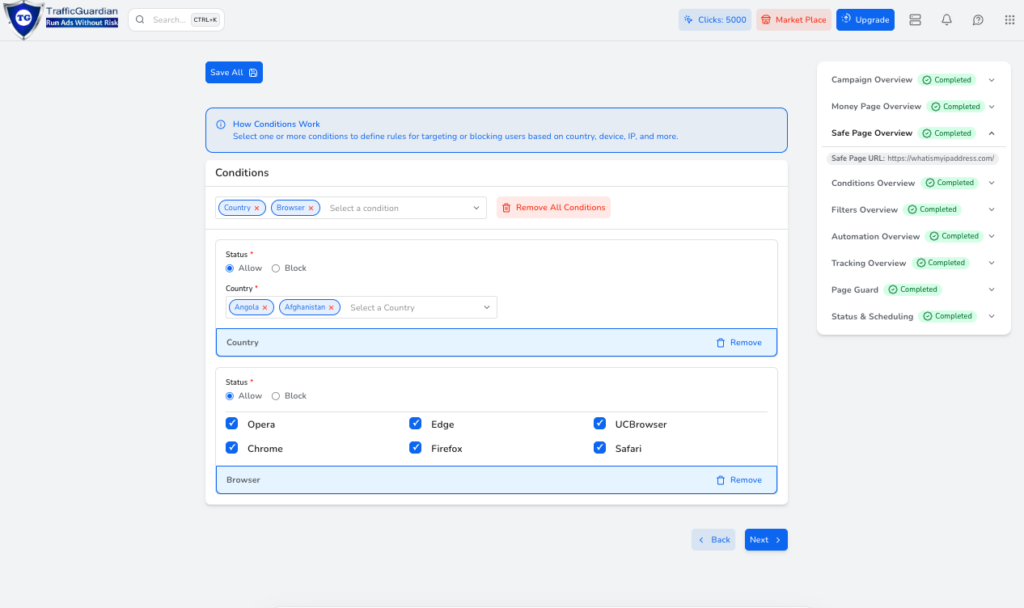
Step 4: Conditions Setup
Select one or more conditions to define rules for targeting or blocking users based on country, device, IP, and more.
We recommend using at least one condition.
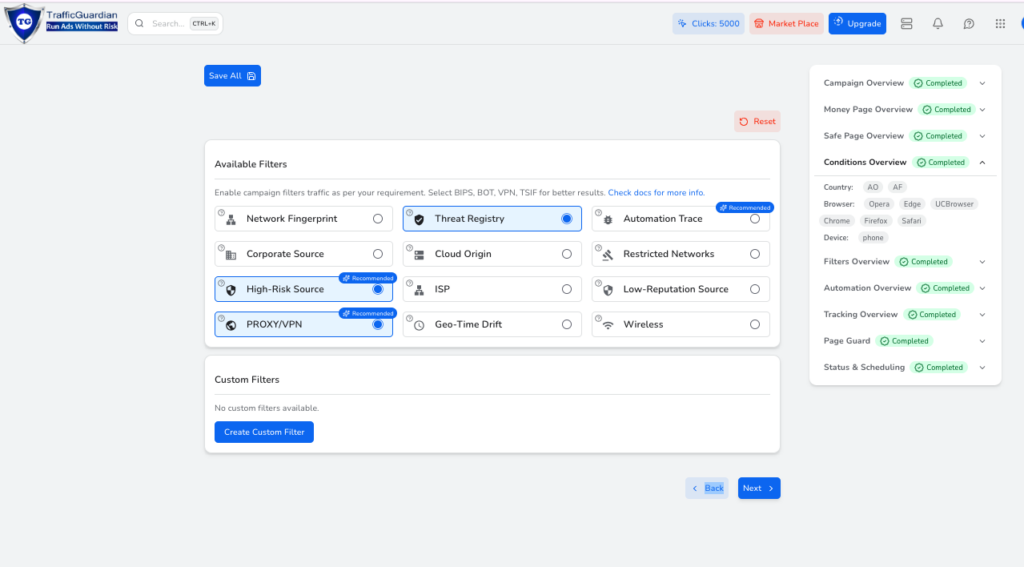
Step 5: Available Filters Setup
Enable campaign filters according to your requirements. For better results, select BIPS, BOT, VPN, and TSIF. Check the docs for more information. You can also create custom filters and add your own additional data, but it is not required.
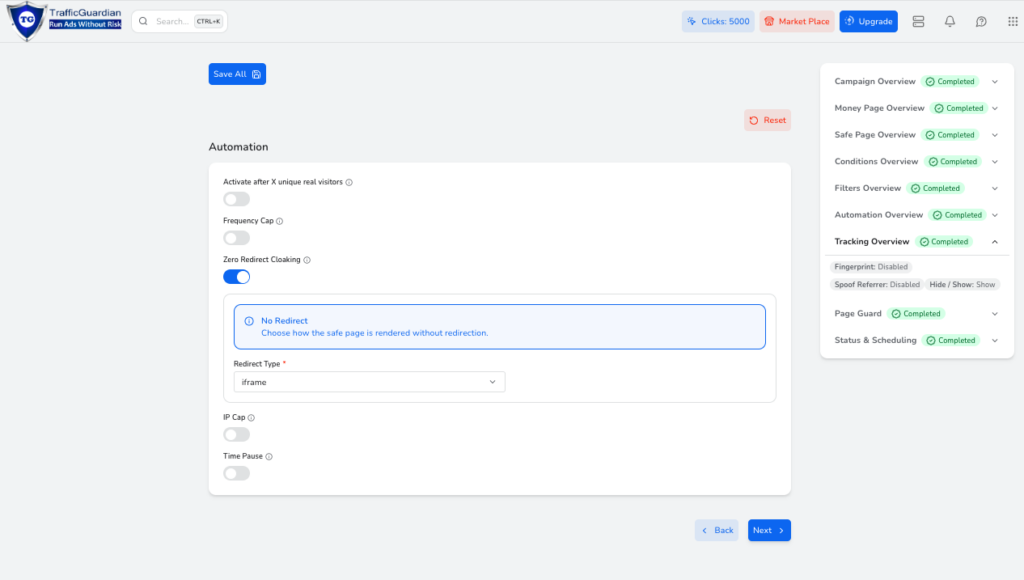
Step 6: Automation Setup
Automate your campaign more information about automation is here.
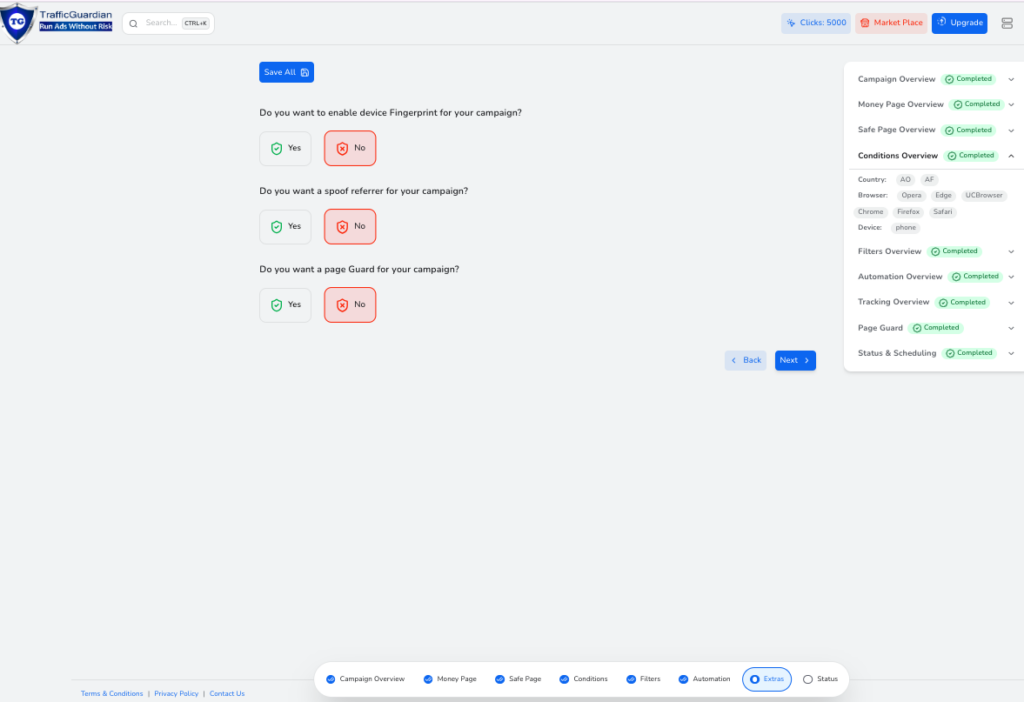
Step 7: Extra Security Settings
In this step, additional security and protection features are enabled. After selecting the required options, click Save All and proceed to the next step.
Step 8: Status & Scheduling
On this screen, you can configure your campaign’s live/pause/schedule settings. After filling in all details, click Save.